Keeping your grooming tools clean and well-maintained is crucial for both your pet’s health and the longevity of your equipment.
Regular cleaning and proper care of grooming tools can prevent the spread of bacteria, extend the life of your tools, and ensure a safe, comfortable grooming experience for your furry friend.

From brushes to clippers, each tool requires specific care to function at its best.
We’ll guide you through the essential steps to clean and maintain your grooming toolkit effectively.
With these tips, you’ll be able to keep your tools in top shape, saving you money and time in the long run.
Let’s dive into the best practices for cleaning and maintaining your grooming tools, so you can provide the best care possible for your beloved pets.
Key Takeaways
- Clean and disinfect grooming tools regularly to prevent bacteria spread
- Proper maintenance extends tool life and ensures safe grooming
- Replace worn-out tools to avoid pet injuries and infections
Understanding Grooming Tool Maintenance

Proper care of grooming tools is key for pet health and tool longevity.
Regular cleaning and upkeep prevent damage and ensure effective grooming sessions.
The Importance of Grooming Tool Maintenance
Clean grooming tools are vital for pet health and comfort.
Dirty tools can spread skin issues and reduce grooming quality.
Meanwhile, regular cleaning extends tool lifespan and saves money over time.
We recommend cleaning tools after each use. This stops buildup of hair, dirt, and oils. It also prevents rust on metal parts.
Clean tools work better and last longer.
Proper storage is also important.
Keep tools in a dry place to avoid moisture damage. Use blade covers to protect sharp edges.
This care helps tools stay in top shape for years.
Types of Grooming Tools and Their Specific Needs
Different grooming tools need different care. Here’s a quick guide:
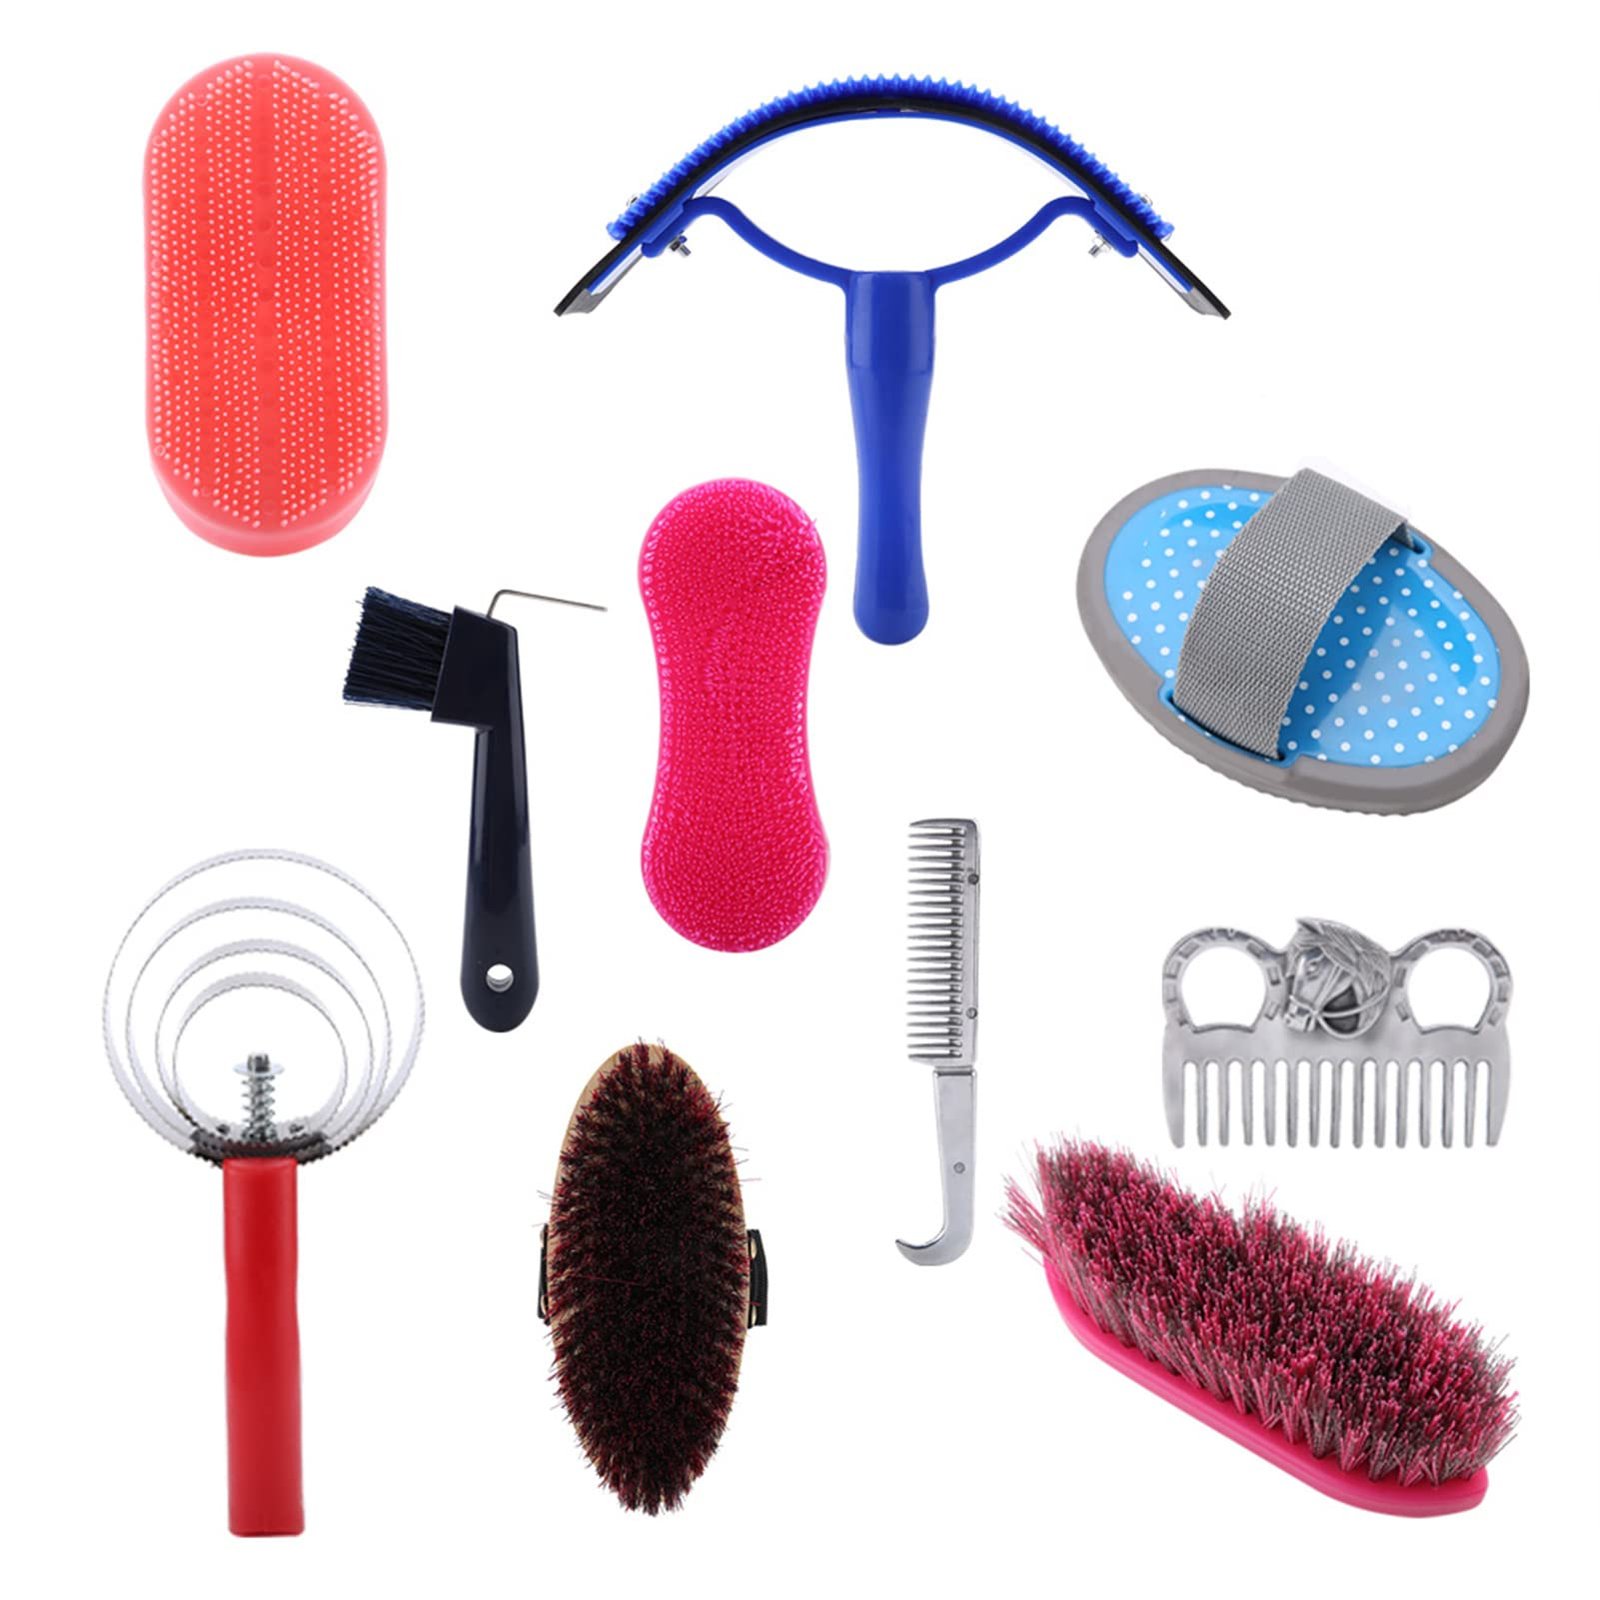
- Brushes and combs: Remove hair after use. Wash with soap and water weekly.
- Clippers: Clean blades with a brush. Apply clipper oil to keep them sharp.
- Scissors: Wipe with alcohol after use. Oil joints to keep them smooth.
- Trimmers: Remove hair and clean blades. Oil moving parts regularly.
We suggest using blade cleaner for deep cleaning. It cleans and disinfects in one step.
Check tools often for signs of wear. Replace dull or damaged items promptly. This ensures safe, effective grooming every time.
Cleaning Processes for Grooming Tools
Regular cleaning of grooming tools is key for pet health and tool longevity.
We’ll cover general techniques and specific tips for different materials.
General Cleaning Techniques
We recommend splitting your text into at most two sentences per paragraph.
Start by removing loose hair from brushes and combs. Use a fine-toothed comb or cleaning brush to get between bristles.
For deeper cleaning, soak tools in warm, soapy water for 10-15 minutes. Scrub gently with an old toothbrush to remove dirt and debris. Rinse thoroughly with clean water.
Disinfecting is crucial to kill bacteria and parasites.
Mix 1 part bleach with 32 parts water. Soak tools for 10 minutes, then rinse and dry completely.
For metal tools like scissors and clippers, wipe with rubbing alcohol after cleaning to prevent rust.
Material-Specific Cleaning Tips
Plastic combs and brushes can be cleaned with dish soap and warm water. Avoid harsh chemicals that may damage the plastic.
For wooden brushes, we suggest using a mild soap solution. Don’t soak wood, as it can warp. Wipe clean and air dry.
Metal clippers and trimmers need special care. Remove hair between blades with a small brush. Apply clipper oil to keep blades running smoothly.
Silicone grooming gloves can be washed with soap and water. Rinse well and air dry to prevent mold growth.
For electric tools, always unplug before cleaning. Wipe the body with a damp cloth. Never submerge in water.
Disinfecting Grooming Tools
Proper disinfection of grooming tools is crucial for preventing the spread of diseases and parasites.
We’ll explore effective disinfectants and techniques to keep tools clean and safe.
Choosing the Right Disinfectant
We recommend using a disinfectant solution specifically made for grooming tools. These products are designed to kill bacteria and parasites without damaging the tools.
Rubbing alcohol is a good option for quick disinfection. It’s effective against many germs and dries quickly.
Bleach can be used in a diluted form. Mix 1 part bleach with 32 parts water. This solution is strong enough to kill most pathogens.
Avoid using household cleaners, as they may not be safe for pets or effective against all grooming-related pathogens.
Disinfecting Techniques
We always start by removing all hair and debris from the tools. This step is crucial for the disinfectant to work properly.
Next, we apply the chosen disinfectant.
For liquid solutions, we soak the tools for the time specified on the product label. This is typically 10-15 minutes.
For items that can’t be soaked, we spray or wipe them thoroughly with the disinfectant. We pay extra attention to areas that come into direct contact with the pet’s skin.
After disinfecting, we rinse the tools with clean water to remove any residue. Then, we dry them completely to prevent rust and bacterial growth.
We make sure to disinfect tools between each pet to prevent cross-contamination. This practice helps stop the spread of skin conditions and parasites.
Oiling and Lubrication of Tools
Keeping grooming tools well-oiled is key for their performance and lifespan.
We’ll explore why oiling matters and how to do it right.
Benefits of Oiling Grooming Tools
Oiling grooming tools, especially clippers, prevents rust and reduces wear and tear.
It helps the blades glide smoothly, cutting hair more easily and evenly.
Regular oiling keeps clipper blades cool during use. This makes grooming more comfortable for pets and prevents skin irritation.
Lubricating tools extends their life. Well-oiled clippers last longer and need fewer repairs. This saves money in the long run.
Oiled tools also work more quietly. The reduced friction means less noise, which can help keep pets calmer during grooming sessions.
How to Apply Lubricant Properly
We start by cleaning the clipper blades thoroughly. Remove all hair and debris before oiling.
Next, we apply a few drops of clipper oil along the blade’s length.
Don’t use too much – excess oil attracts dirt.
Turn on the clippers for a few seconds. This helps spread the oil evenly across the blades.
We recommend oiling clippers before and after each use for best results. This keeps them in top shape and ready for the next grooming session.
For other tools like scissors, we apply a tiny amount of oil to the pivot point. This keeps them opening and closing smoothly.
Always use the right type of oil. Clipper oil is best for most grooming tools. Avoid using other oils, as they may damage the equipment.
Sharpening and Alignment Tips
Sharp blades and proper alignment are key for clean, safe grooming.
We’ll cover how to keep your tools in top shape for the best results.
Keeping Blades Sharp
Sharpening dog grooming scissors and clipper blades is crucial for smooth cuts.
For scissors, we recommend using a sharpening stone. Start with a coarse grit, then move to a finer one.
Hold the scissors at a 20-degree angle and run the blade along the stone. Repeat 10-15 times on each side. Test the sharpness on a piece of paper.
For clipper blades, use a blade sharpening stone or send them to a professional. Clean the blades thoroughly before sharpening.
• Use light pressure • Maintain the original angle • Sharpen in one direction only
Regular maintenance prevents dull blades and uneven cuts.
Adjusting for Precise Cuts
Proper alignment ensures clean, even trims.
For scissors, check the tension regularly. They should close smoothly when released from a 45-degree angle.
Adjust the tension screw as needed:
• Clockwise to tighten • Counterclockwise to loosen
For clippers, align the blade teeth. Loosen the blade screws slightly. Adjust the blade so the teeth line up evenly. Then, tighten the screws.
We recommend checking alignment before each grooming session. This prevents pulling and ensures a comfortable experience for the pet.
Storage and Handling of Grooming Tools
Proper storage and handling of grooming tools is key for their longevity and safety.
We’ll cover the best ways to store your equipment and handle it safely.
Proper Storage Solutions
Storing grooming equipment correctly protects it from damage and keeps it organized.
We recommend using a dedicated toolbox or cabinet for your tools.
Keep sharp tools like scissors and clippers in protective cases. This prevents dulling and accidents.
For brushes and combs, use a drawer with dividers. This stops bristles from bending.
Hang dryers and clippers on wall hooks. This saves space and prevents cord tangles.
Use airtight containers for small items like nail clippers and tweezers. This keeps them dry and rust-free.
Label your storage areas clearly. This helps you find tools quickly and put them back easily.
Safe Handling Practices
We always put safety first when handling grooming tools. Here are key practices to follow:
- Wear gloves when using sharp tools or chemicals.
- Keep tools clean and dry to prevent slips.
- Unplug electric tools when not in use.
- Check for frayed cords or damage before each use.
Never leave tools unattended around pets. Store them out of reach when not in use.
Use tool guards and blade covers when appropriate. This protects both you and the tools.
For travel, use a sturdy, lockable case. This keeps tools safe and organized on the go.
Clean tools after each use. This prevents rust and keeps them hygienic.
Regular Maintenance Schedule
A consistent upkeep routine is key for keeping grooming tools in top shape. Regular care extends their lifespan and ensures they work well for every use.
Creating a Maintenance Routine
We recommend setting up a weekly cleaning schedule for your tools.
Start by wiping down clippers and blades after each use. Use a small brush to remove hair and debris.
Next, apply blade oil to moving parts. This keeps them running smoothly.
Don’t forget to disinfect combs and brushes regularly.
Keep a log of when you last serviced each tool. This helps track maintenance needs.
Set reminders on your phone or calendar for tasks like sharpening blades.
Store tools properly when not in use. Keep them in a clean, dry place to prevent rust and damage.
Professional Servicing Recommendations
We advise getting clippers professionally serviced once a year. This ensures they stay in top condition. A pro can spot issues you might miss.
Professional groomers often service their tools more frequently. Consider this if you use your tools heavily.
Ask the service tech to check:
- Blade alignment
- Motor function
- Cord integrity
They can also sharpen blades and replace worn parts. This keeps your tools working like new.
Between pro services, do regular at-home maintenance. This includes cleaning, oiling, and checking for any damage.
Grooming as a Bonding Experience
Grooming is more than just keeping your pet clean. It’s a chance to strengthen your connection with your furry friend. Regular grooming sessions can help build trust and improve your pet’s coat health.
The Relationship Between Grooming and Bonding
When we groom our pets, we create a special time for one-on-one attention. This helps animals feel loved and cared for.
Regular grooming builds trust between pets and their owners.
We can use this time to check for any skin issues or unusual bumps. Our pets learn to associate grooming with positive feelings.
This makes future grooming sessions easier and more enjoyable for both of us.
Grooming also helps keep our pets’ coats healthy.
When we brush our pets, we spread natural oils through their fur. This can make their coats shine and feel softer.
To make grooming a good bonding experience, we should:
- Stay calm and patient
- Use gentle touches
- Offer treats as rewards
- Talk softly to our pets
- Choose a quiet, comfortable spot
By making grooming enjoyable, we create lasting bonds with our animal companions.
Health Benefits of Regular Grooming
Regular grooming offers many health benefits for pets. It keeps their coat and skin in good shape and helps prevent common health issues.
Promoting Coat and Skin Health
Regular grooming helps keep pets’ coats healthy and shiny.
We brush their fur to remove dirt, tangles, and loose hair. This spreads natural oils through the coat, making it soft and glossy.
Grooming also lets us check for skin problems. We can spot rashes, bumps, or fleas early on.
Catching these issues quickly makes them easier to treat.
For long-haired pets, grooming prevents painful mats. These tangled clumps of fur can irritate the skin if left unchecked.
Preventing Common Diseases
Grooming goes beyond just looks – it’s key for preventing health issues.
We can spot early signs of illness during grooming sessions.
Regular brushing and bathing help remove allergens from a pet’s coat. This can reduce allergy symptoms in both pets and their owners.
Nail trimming prevents painful overgrowth and potential injuries.
Keeping nails short helps pets walk comfortably and avoid joint problems.
Cleaning a pet’s ears during grooming can prevent ear infections. We check for redness, swelling, or discharge – signs of trouble.
Dental care, like brushing teeth, helps prevent gum disease and tooth decay in pets. Good oral health can even protect their heart and kidneys.
Additional Grooming Tips
Natural products and careful handling can improve your grooming routine. These tips will help keep your pet comfortable and your tools in top shape.
Use of Natural Products
Natural oils can be great for pet grooming.
We recommend using coconut oil to condition fur and skin. It helps reduce dander and leaves coats shiny.
For cleaning tools, vinegar is a natural sanitizer.
Mix equal parts water and vinegar to clean brushes and combs. This solution kills germs without harsh chemicals.
Tea tree oil works well to disinfect grooming clippers.
Add a few drops to water for a natural cleaning spray. Be careful though – pure tea tree oil can be toxic to pets if ingested.
Handling Sensitive Areas
We always take extra care with delicate spots.
For faces, use a soft slicker brush with rounded tips. Brush gently in the direction of hair growth.
Paws need special attention too. Trim fur between paw pads with small scissors. Go slow and be very careful not to nick the skin.
For ears, use a pin brush to remove tangles. Clean the outer ear only – never insert anything into the ear canal.
Safety is key. We always keep styptic powder on hand in case of minor cuts. And we never leave pets unattended on grooming tables.
Frequently Asked Questions
Proper cleaning and maintenance of grooming tools is crucial for pet health and tool longevity. We’ll address common questions about sanitizing different types of equipment and best practices for salons.
What are the best practices for cleaning and disinfecting grooming scissors?
Clean scissors after each use with warm soapy water. Rinse and dry them thoroughly.
Use a disinfectant spray made for grooming tools. Apply oil to the pivot point to keep the blades moving smoothly.
Wipe down the blades with rubbing alcohol for extra sanitation. Store scissors in a clean, dry place to prevent rust.
What is the recommended method for maintaining dog grooming clippers to ensure longevity?
Brush hair from clipper blades after each use. Clean blades with a specialized cleaner.
Oil the blades regularly to reduce friction and heat.
Check for loose screws and tighten them if needed. Replace dull or damaged blades promptly.
Can you provide a step-by-step guide for sanitizing grooming tools in a salon environment?
Remove all hair and debris from tools. Wash with hot, soapy water and rinse thoroughly.
Soak metal tools in a disinfectant solution for the recommended time.
Rinse tools again and dry completely. For electric tools, use a spray disinfectant. Store all items in a clean, dry area.
What are the essential items to include in a dog grooming salon cleaning checklist?
List all grooming tools: brushes, combs, clippers, scissors. Include sanitizing products: disinfectant sprays, soaks, and wipes. Add cleaning supplies: soap, towels, blade brush.
Note equipment like tables, tubs, and dryers. Don’t forget floors, walls, and work surfaces.
How often should grooming equipment be cleaned to maintain hygiene standards?
Clean tools after each pet to prevent spreading infections.
Perform a deep clean of all equipment daily. Sanitize work areas between clients.
Weekly, do a thorough cleaning of the entire salon. Replace disinfectant solutions as directed by the manufacturer.
What are the effective methods for preventing rust and corrosion on grooming tools?
Dry tools completely after cleaning. Apply a thin layer of oil to metal parts.
Use protectant sprays on vulnerable areas. Avoid leaving tools wet or in damp places. Replace rusty tools that can’t be restored.
Statistic table
We recommend using a statistic table to keep track of your grooming tool maintenance.
This simple yet effective method helps ensure all equipment stays in top condition.
Here’s a basic example of a statistic table:
| Tool | Last Cleaned | Next Cleaning Due | Condition |
|---|---|---|---|
| Clippers | 9/1/2024 | 9/8/2024 | Good |
| Scissors | 9/3/2024 | 9/10/2024 | Excellent |
| Brushes | 9/4/2024 | 9/11/2024 | Fair |
We suggest updating this table after each use of your grooming tools.
It’s a quick and easy way to stay organized.
For best results, we recommend including columns for the date last cleaned, next cleaning due, and current condition.
This helps us spot any tools that need extra attention.
We can also add notes about specific maintenance needs.
For example, when scissors need sharpening or if clippers require oiling.
By keeping a statistic table, we ensure no tool is overlooked in our cleaning routine.
This proactive approach helps extend the life of our grooming equipment.


